


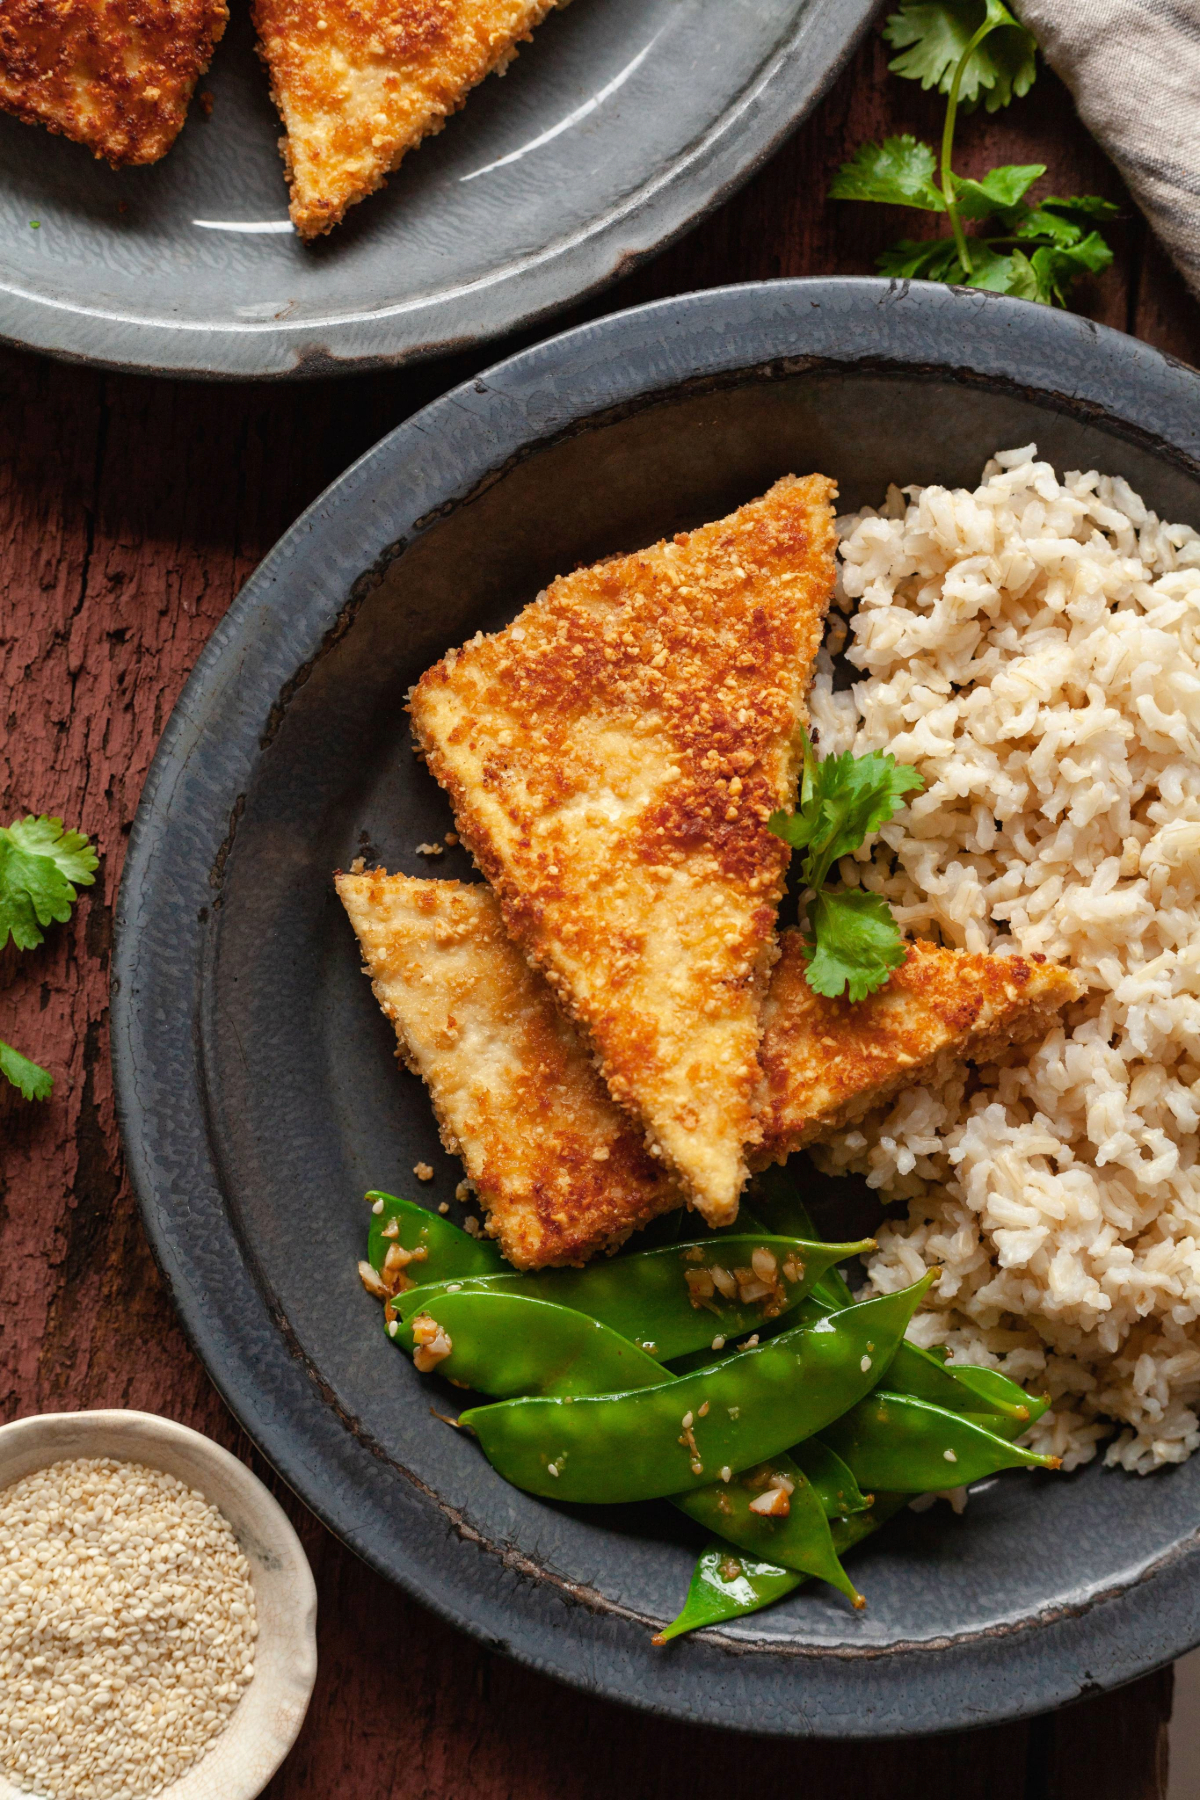
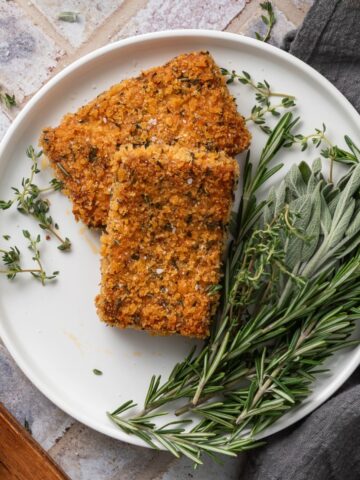
Crispy Peanut Pan Fried Tofu is a vegetarian main dish that is surprisingly easy to make! Extra firm tofu is dredged in a salty peanut and bread crumb coating to create a seriously crunchy tofu dinner.

This post contains affiliate links. As an Amazon Affiliate I earn from qualifying purchases. All opinions are my own.
Tell me you're not head over heels in love with any food that offers a good crunch.
While my crispy tofu is, you know, CRISPY, I wanted to create a tofu recipe that had some serious crunch. I decided pan fried tofu was the best choice!
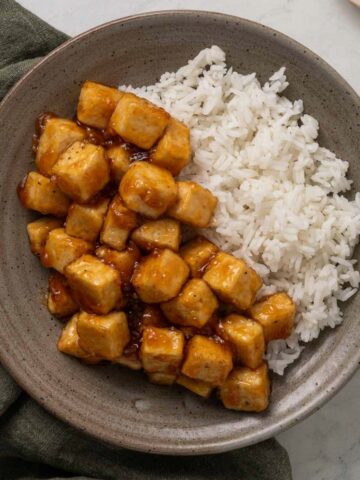
As far as flavors go, this recipe is on the mild side since I wanted to make a tofu dish that would appeal to kids. If you prefer more flavor and spice, you can drizzle the finished tofu in sriracha, or add a sprinkling of crushed red pepper flakes and freshly cracked black pepper to the bread crumb mixture.
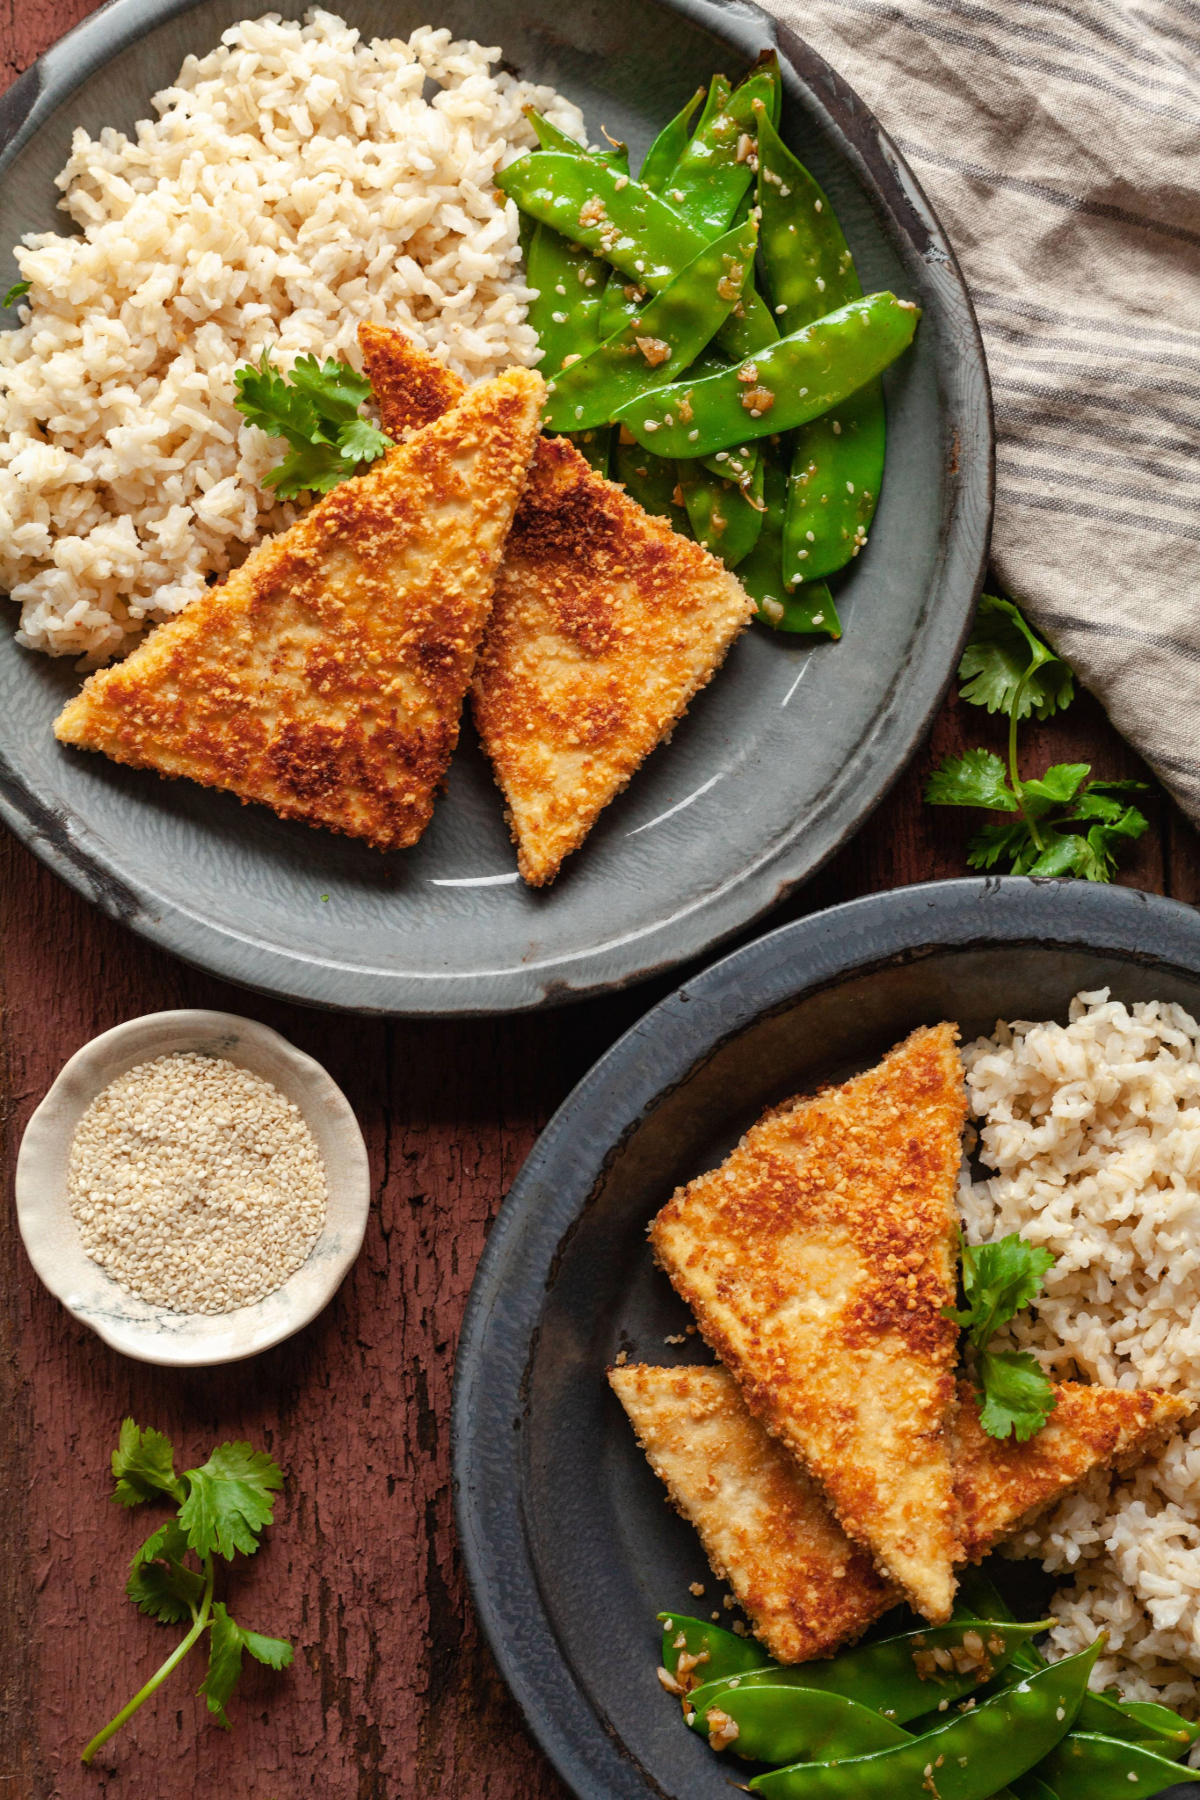
Serve this crispy tofu with fluffy white rice and garlic ginger snow peas for a meal the whole family is sure to love!
Ingredients
- Extra firm tofu
- Lightly salted peanuts
- Panko bread crumbs
- Garlic powder
- Coarse kosher salt
- All-purpose flour
- Egg
- Water
- Coconut oil
- Toasted sesame seeds, optional
Instructions
- Place peanuts in the bowl of a food processor. Turn the food processor on and let it run until the peanuts are finely chopped to the point of crumbs.
- Transfer the chopped peanuts to a shallow bowl. Add the breadcrumbs, garlic powder, and salt. Stir together with a spoon or just mix it up with your fingers.
- Place the flour in a separate shallow bowl.
- In a third shallow bowl, whisk together the egg and water.
- With one hand, coat one piece of tofu with flour, shaking off any excess. Using your other hand, dip it into the egg mixture, allowing any extra to drip off. Using your first hand again, flip the tofu around in the breadcrumb mixture, pressing gently to adhere to all sides.
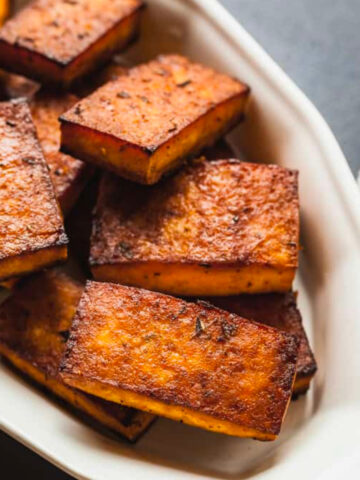
- In a large cast iron skillet, heat coconut oil over medium heat. Add the tofu, working in batches if necessary so as not to crowd the pan. Allow to cook for 2 minutes, then flip and cook 2 minutes more or until the coating is golden brown. Repeat with any remaining tofu, adding more coconut oil to the pan if necessary.
- Serve the tofu sprinkled with toasted sesame seeds if desired.
Top tips
How to press tofu
Pressing tofu is easy. You can press tofu with a press, or press tofu without a press.
All presses vary in their design. The one I use has screws to tighten the plates together. Continue to tighten your press every few minutes if necessary until the flow of liquid slows or stops, roughly 15-30 minutes.
To press tofu without a press, stack the block of tofu between several paper towels on a plate and place something heavy on top to squeeze the water out for 15-30 minutes.
You can press the tofu a little or a lot, it's up to you. The tofu should feel firm and look drier than when you started.
How to store peanut tofu
Pan fried tofu is best enjoyed soon after cooking, but can be stored in an airtight container in the refrigerator for up to 3 days. It will lose most of its crispiness in the refrigerator, but you can reheat it in the oven or air fryer to make it a little crispy again.
You can also freeze this recipe in an airtight container for up to 3 months. Keep in mind that freezing may change the texture of the tofu.
The secrets to tofu success
If tofu just feels too intimidating, I have a free 4 day crash course all about cooking tofu successfully. Don't be scared, let me hold your hand through picking out the right kind of tofu, pressing, marinating, and cooking!
Tips for customizing crispy peanut pan fried tofu
- You could experiment with using a flax egg, aquafaba, or other egg replacer to keep this vegan
- Use gluten-free flour and breadcrumbs to make this gluten-free
- Add a sprinkling of sesame seeds to the peanut/breadcrumb mix
- Sprinkle the finished tofu with toasted sesame seeds or a drizzle of sriracha
- Drizzle the finished tofu in your favorite Asian sauce such as teriyaki, sweet and sour, or peanut sauce
FAQ
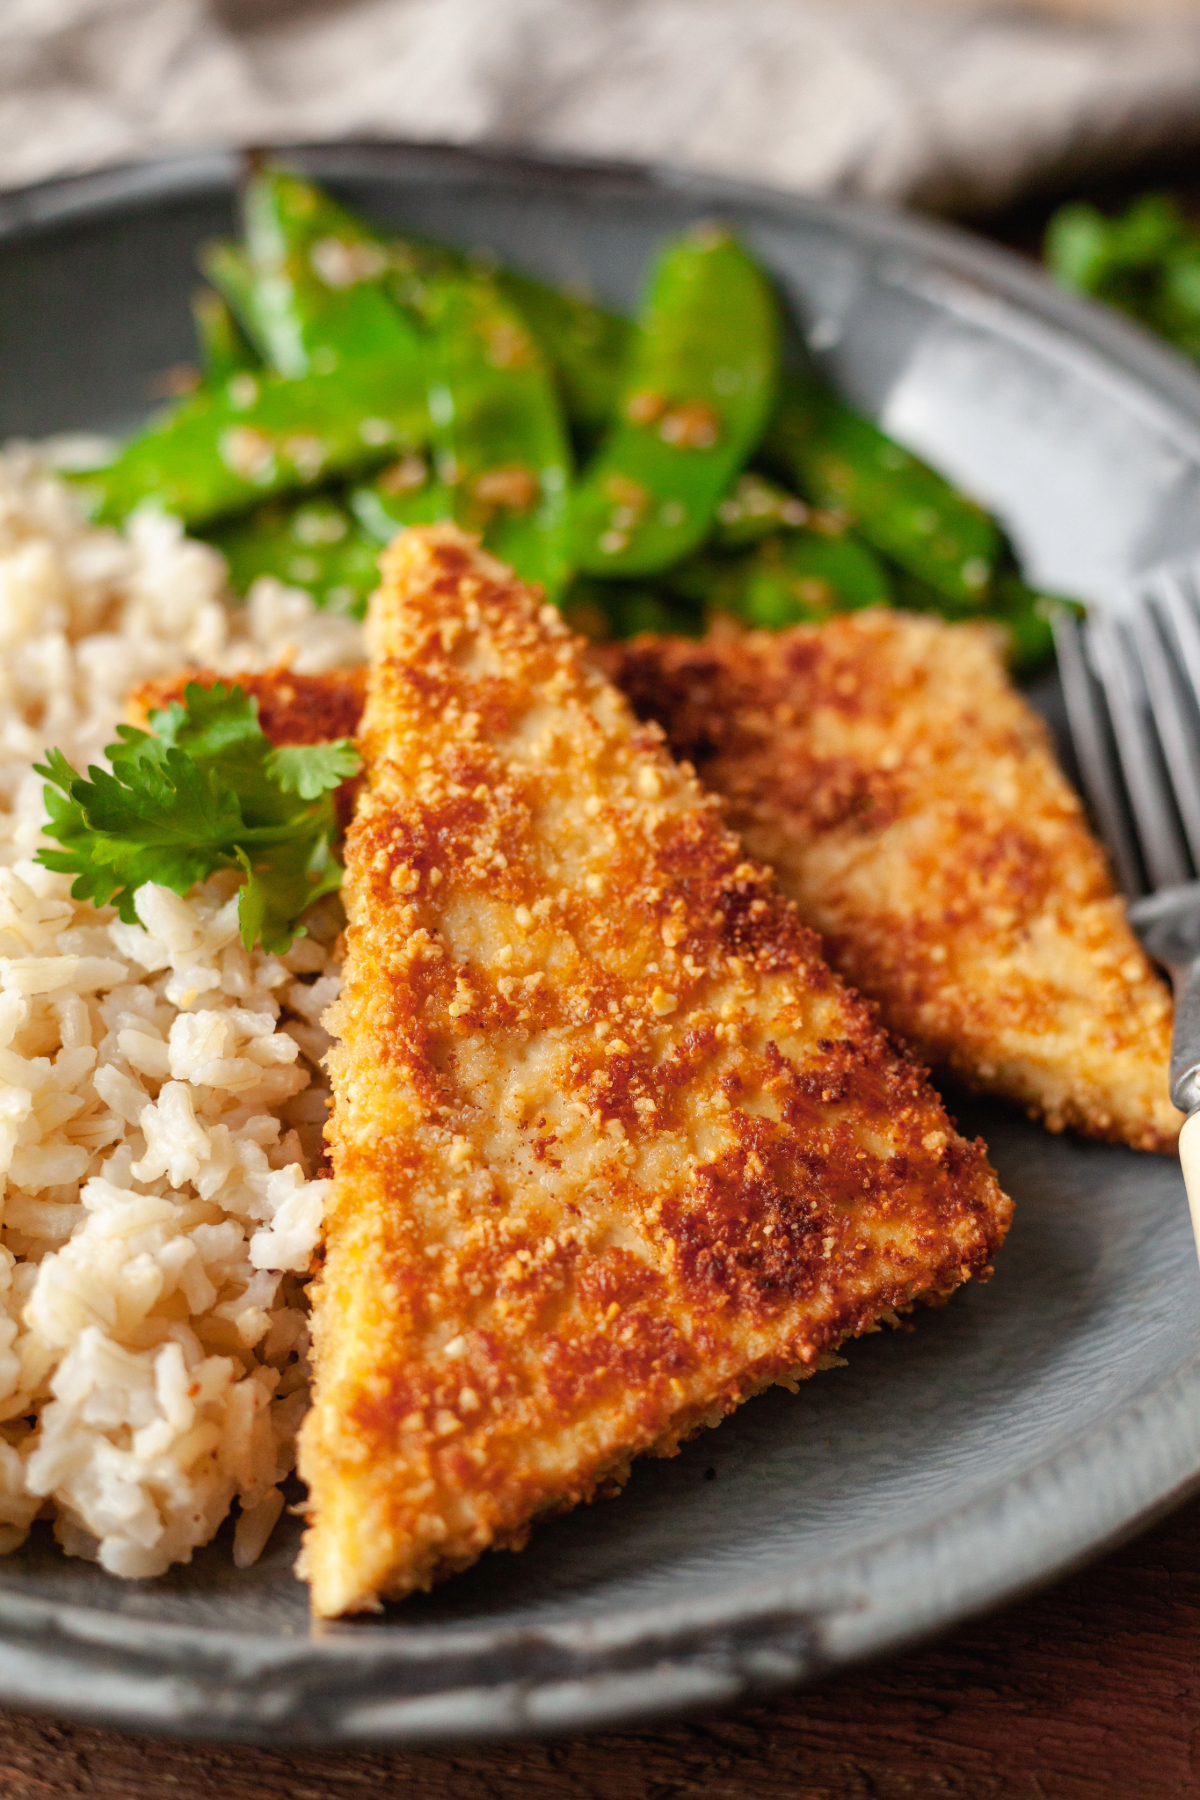
We're making super crispy crunchy tofu by pressing all the water out, then dredging slices in flour, egg, and a combination of bread crumbs and finely chopped peanuts. As I mentioned before, I like pan frying for the best color and texture.
Be sure to use enough coconut oil to reach up the sides of the tofu a little bit. Melt the oil in a cast iron skillet over medium heat, then cook the tofu in batches for two minutes per side. You may need to add a little extra coconut oil to the pan before cooking the second batch.
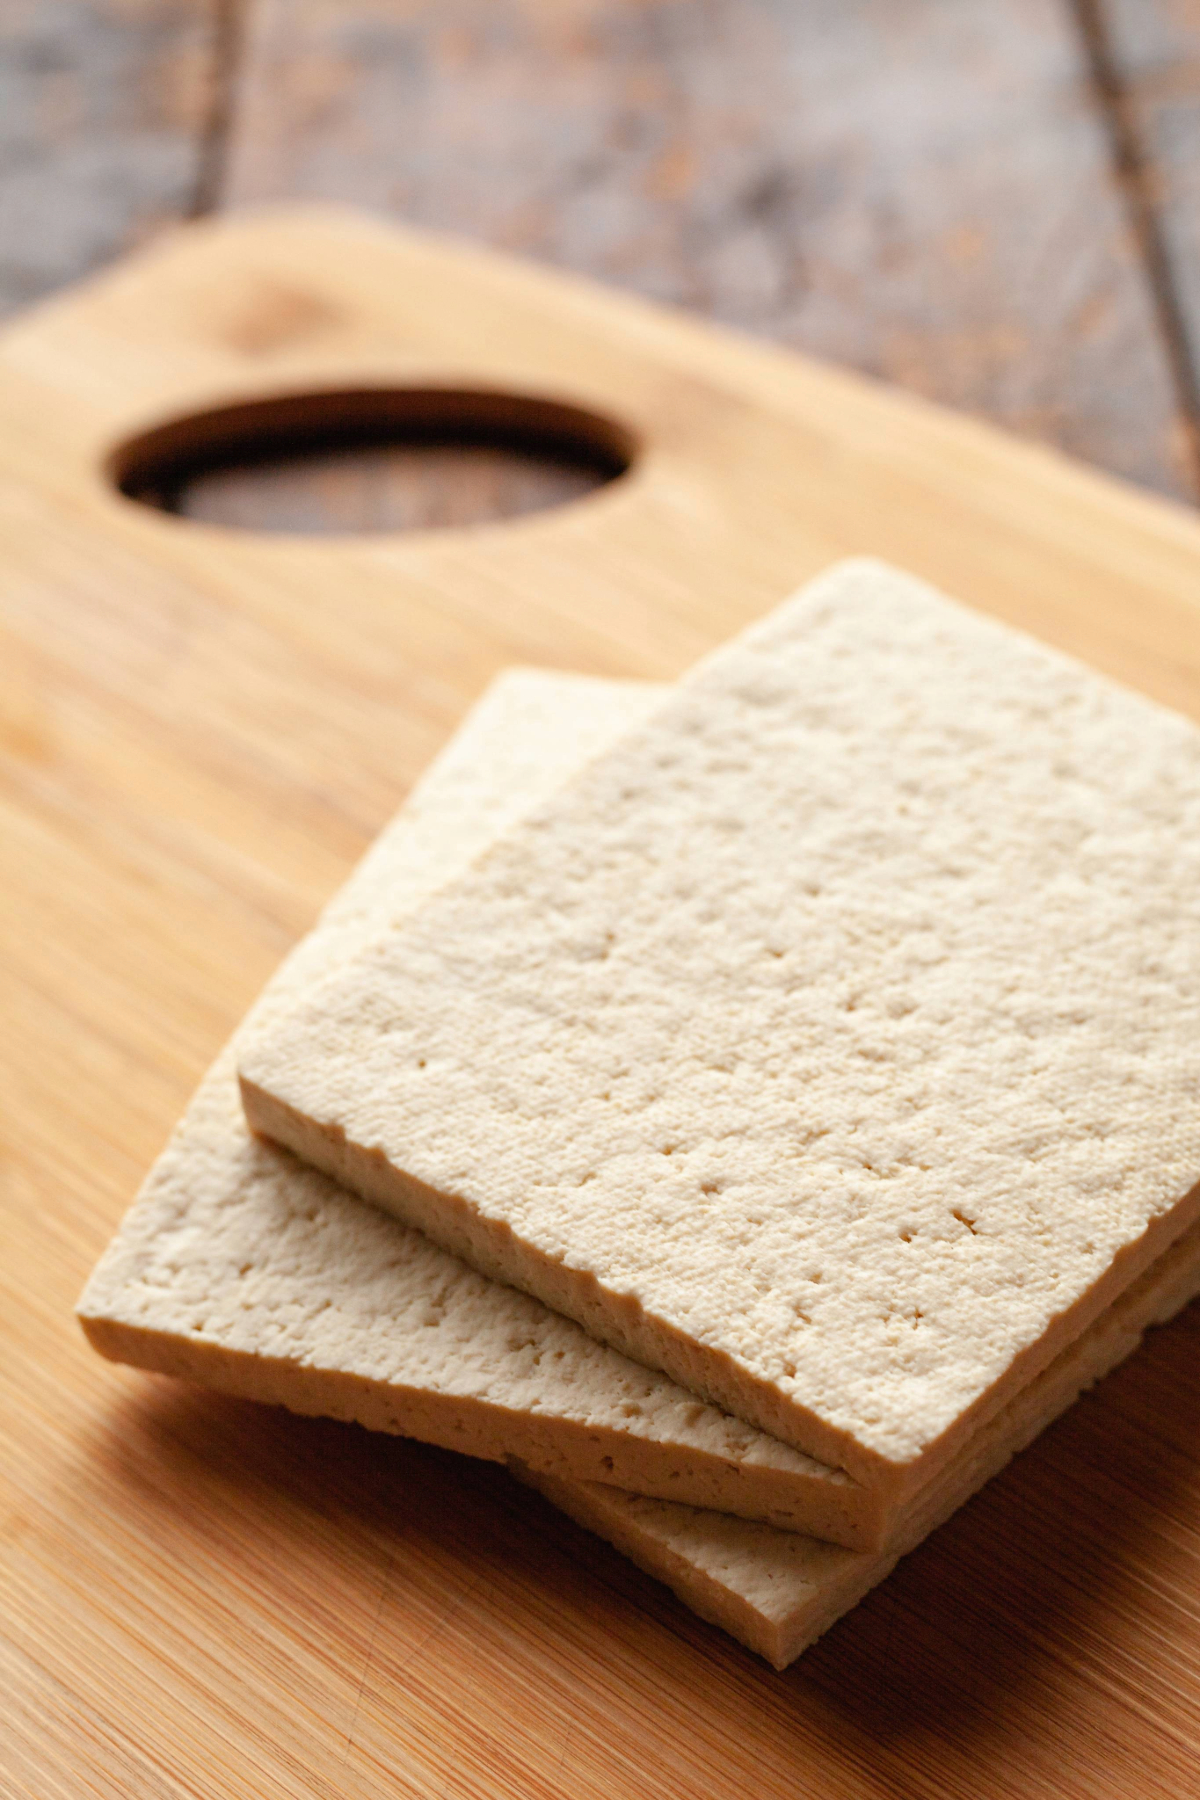
I recommend using only extra firm tofu to make this recipe. Other types of tofu will result in an extremely soft texture.
More tofu recipes
- Pesto Tofu
- Scrambled Tofu
- BBQ Tofu
- Kung Pao Tofu
- Crispy Roasted Potatoes with Thai Tofu Sauce
- Balsamic Tofu
- The Best Marinated Tofu Recipe
- Crispy Fried Tofu
- Cajun Tofu
- Air Fryer Tofu
If you make this recipe, be sure to rate it, leave a comment, or tag #theliveinkitchen on Instagram!

Recipe

Crispy Peanut Pan Fried Tofu
Ingredients
- 14 ounces extra firm tofu, pressed, then sliced into three flat slabs, then sliced into large triangles
- ½ cup lightly salted peanuts
- ½ cup panko bread crumbs
- ½ teaspoon garlic powder
- ¼ teaspoon coarse kosher salt
- ¾ cup all-purpose flour
- 1 egg
- 2 tablespoons water
- 3 tablespoons coconut oil
- 1 teaspoon toasted sesame seeds, optional
Instructions
- Place peanuts in the bowl of a food processor. Turn the food processor on and let it run until the peanuts are finely chopped to the point of crumbs.
- Transfer the chopped peanuts to a shallow bowl. Add the breadcrumbs, garlic powder, and salt. Stir together with a spoon or just mix it up with your fingers.
- Place the flour in a separate shallow bowl.
- In a third shallow bowl, whisk together the egg and water.
- With one hand, coat one piece of tofu with flour, shaking off any excess. Using your other hand, dip it into the egg mixture, allowing any extra to drip off. Using your first hand again, flip the tofu around in the breadcrumb mixture, pressing gently to adhere to all sides.
- In a large cast iron skillet, heat coconut oil over medium heat. Add the tofu, working in batches if necessary so as not to crowd the pan. Allow to cook for 2 minutes, then flip and cook 2 minutes more or until the coating is golden brown. Repeat with any remaining tofu, adding more coconut oil to the pan if necessary.
- Serve the tofu sprinkled with toasted sesame seeds if desired.

vivian says
This tofu was really delicious. I served it with stir fried vegetables and veggie spring rolls and really liked it. Thanks for a great recipe!
Lindsay Moe says
That's great to hear, thanks for sharing!
Stephanie B says
I made this tonight and it was so so good! Made it per the recipe except I seasoned the flour with a little salt and pepper and hit it with a little coarse smoked salt when it was done frying. Delicious! I might try a sauce with it next time but it really doesn't need it. Good flavor and perfect crunch.
Lindsay Moe says
I'm so glad you enjoyed it! The smoked salt sounds divine!
Mimi says
This sounds awesome and I'll be making it soon, will report back later. Just wanted to say,
I think you mean "dredging slices in flour," not "dreading"! Hopefully you are looking forward to the dish while making it 😀
Lindsay Moe says
For sure, haha! Thanks for pointing that out. Auto correct is not always my friend! I hope you enjoy the recipe.
Mimi says
I'm back and have made this now, using cashews instead of peanuts. It was really good! The nuttiness takes fried tofu to a whole new level. I put it on a kale salad.
My one caution is that I didn't need nearly as much flour as called for. Luckily I suspected this in advance because of similar dishes I'd made, so I started with 1/4 cup. I'd recommend starting with 1/4 cup because you can always add more if needed, but you can't store the remaining flour if you start with too much.
Anyway, this is a dish I'll definitely be making again! Thanks!
Lindsay Moe says
Yes, you will not need all that flour. For me it is easier to have more than too little since my hands will be all eggy from the breading, but it is totally fine to do it the other way! I'm glad you enjoyed it!