


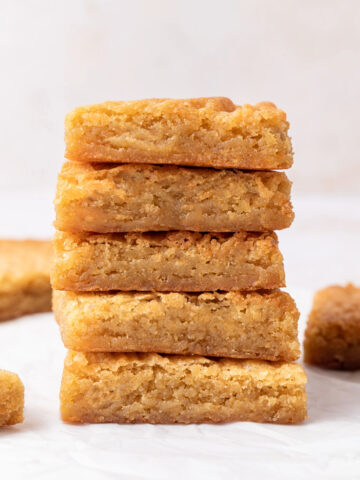
These Peanut Butter Larabars are both sweet and salty. They need only 2 ingredients and 5 minutes to make, making them the perfect healthy snack!

This post contains affiliate links. As an Amazon Affiliate I earn from qualifying purchases. All opinions are my own.
Jump to:
Larabars are a favorite healthy snack around my house.
Of course you can buy them in most grocery stores, but if you want to take things one step further you can also make them at home! I think you'll be surprised just how quick and easy it is.
Peanut butter larabars taste like a gooey peanut butter cookie and make an easy breakfast or healthy snack any time of day. They're especially great for kids, so stick a few in your diaper bag, backpack, or picnic basket and you're ready to go!

What I love about these homemade peanut butter larabars
One of my favorite features about these bars (besides the fact that they taste like dessert) is that it fills us up in the moment without leaving us too full for the next meal. I hate handing out snacks an hour before dinner and having everyone push their plate away because they're already full.
Larabars, you magical little nuggets, you've stolen my heart.
Ingredients
- Peanuts
- Dates

How to make homemade larabars
- Pulse peanuts in a food processor until the size of fine crumbs.
- Add the dates and process until everything is finely chopped and a sticky dough begins to form. If it appears dry, add water a few drops at a time and pulse until the desired consistency is reached.
- Pour the dough onto a sheet of parchment or wax paper and press together to form a compact, flat square about 1 inch high. Cut into evenly sized squares and store in an airtight container in the refrigerator.


Top tips
How to pit dates
Dates have a very hard pit in the center that needs to be removed before sending through the food processor or eating. It is pretty easy to find pitted dates so you don't need to do this yourself (check the baking aisle of the grocery store near the raisins), however it is also easy to do at home.
Pitting dates yourself will result in the freshest date possible, making your homemade larabars softer and more rich tasting. To remove the pit, use a small knife to make a slit in the side of the date, then use your fingers to pull it out.
If the dates are very fresh you can also push them out with just your fingers. If you start to run your dates through the food processor and you hear a loud clicking sound, check to see if you missed a pit. It will probably be stuck to the food processor blade.

The best food processor for homemade larabars
I love my Cuisinart food processor (affiliate link). It can handle big jobs like finely chopping peanuts and dates. I definitely recommend the 14 cup rather than something smaller so you don't need to work in batches.
How to store
Store your homemade larabars in an airtight zip top bag or wrapped in plastic wrap in the refrigerator for up to 7 days, or in the freezer for up to 3 months.


Tips for customizing peanut butter larabars
- Experiment with other nuts such as cashews or almonds
- Mix in mini chocolate chips at the end
- Add extra salt to taste
- This recipe is already vegan and gluten-free - yay!
FAQ
Healthy means something different to everyone, but based on the limited ingredients list and balance of protein, fiber, and complex carbs I would say both store bought and homemade larabars are very healthy.
If you can't find lightly salted peanuts, go with unsalted and add your own to taste. If you only have heavily salted peanuts the final result may be too salty.

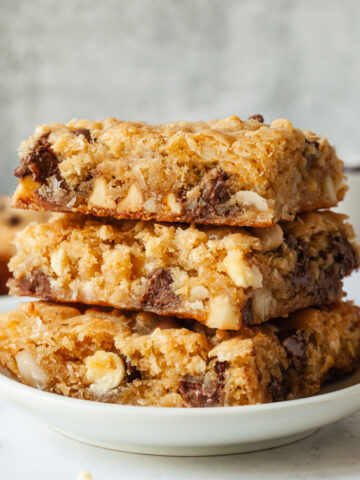
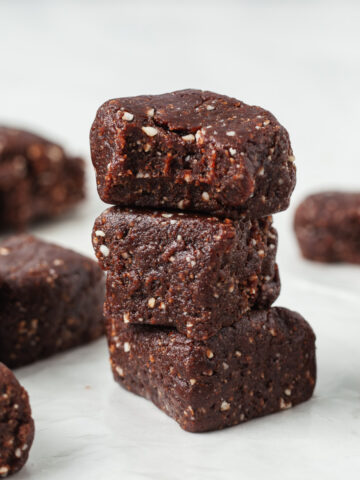
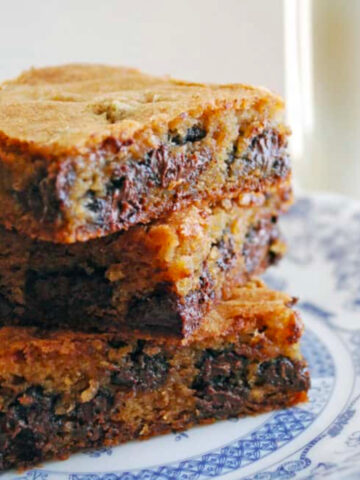
More healthy snacks
- Cashew Cookie Larabars
- Pecan Pie Larabars
- Larabar Chocolate Brownie Bites
- Peanut Butter Cookie Dough Bites
- Lemon Poppyseed Protein Balls
- Gingerbread Energy Balls
- Cardamom Rose Energy Balls
- Chocolate Peanut Butter Protein Balls
- Healthy Peanut Butter Breakfast Bars
- Cashew Butter Granola Bars
- Peanut Butter Oatmeal Energy Bites

If you make this recipe, be sure to rate it, leave a comment, or tag #theliveinkitchen on Instagram!

Recipe

Peanut Butter Larabars
Ingredients
- 2 cups dry roasted lightly salted peanuts
- 2 cups pitted dates
Instructions
- In the bowl of a food processor, pulse peanuts until the size of fine crumbs.
- Add the dates and process until everything is finely chopped and a sticky dough begins to form. The mixture should hold together when pinched between two fingers. If it appears dry, add water a few drops at a time and pulse until the desired consistency is reached.
- Pour the dough onto a sheet of parchment or wax paper and press together to form a compact, flat square about 1 inch high. I like to cut pieces off when I'm ready to eat them to keep the rest of the batch fresh, but you can cut the whole slab into evenly sized squares and store in an airtight container in the refrigerator.
Lily says
This was really good! I melted some chocolate and poured it on top of my bars. It made it even better!